Crafting the Lich King
Written by Jason Newell
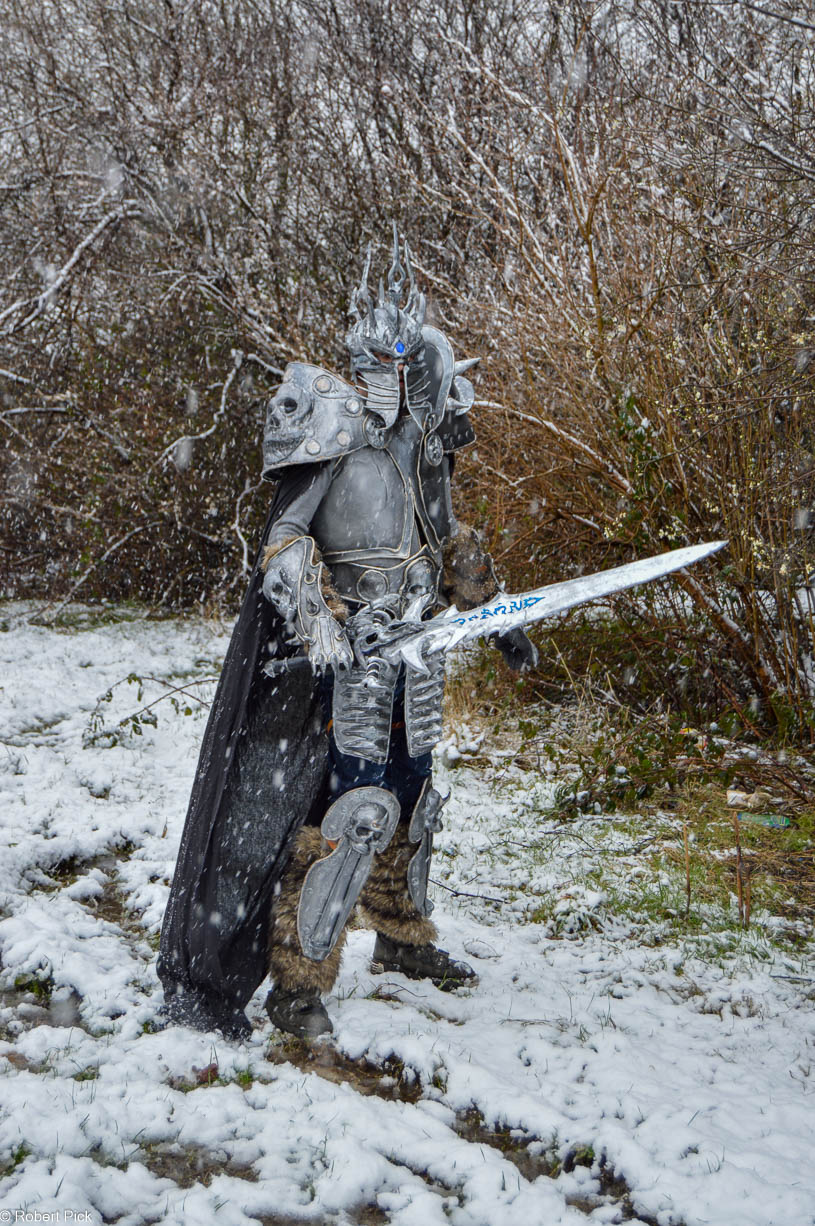
Cosplaying as the Lich King from *World of Warcraft* is a dream for many fans of the franchise. His armor is iconic—menacing, ornate, and undeniably powerful. But recreating it can seem daunting. Fear not! With some Worbla, silver spray paint, and a bit of patience, you can bring this legendary character to life. This guide will walk you through the basics of crafting the Lich King’s armor, from shaping the intricate details to achieving that perfect metallic finish.

Crafting is the art of turning imagination into reality, one careful detail at a time
Materials You’ll Need
– **Worbla** (or any thermoplastic)
– Craft foam (EVA foam sheets)
– Heat gun
– Craft knife or scissors
– Contact cement or hot glue
– Silver spray paint
– Black acrylic paint (for weathering)
– Blue LED lights (optional, for the helm and armor glow)
– Pattern paper (or a printable template)
– Sandpaper (various grits)
Step 1: Gather Reference Images
Before you begin, gather as many reference images of the Lich King as possible. Pay attention to the intricate details, patterns, and overall design of the armor. This will help you plan out each piece and ensure accuracy in your build.
Step 2: Creating the Base Patterns
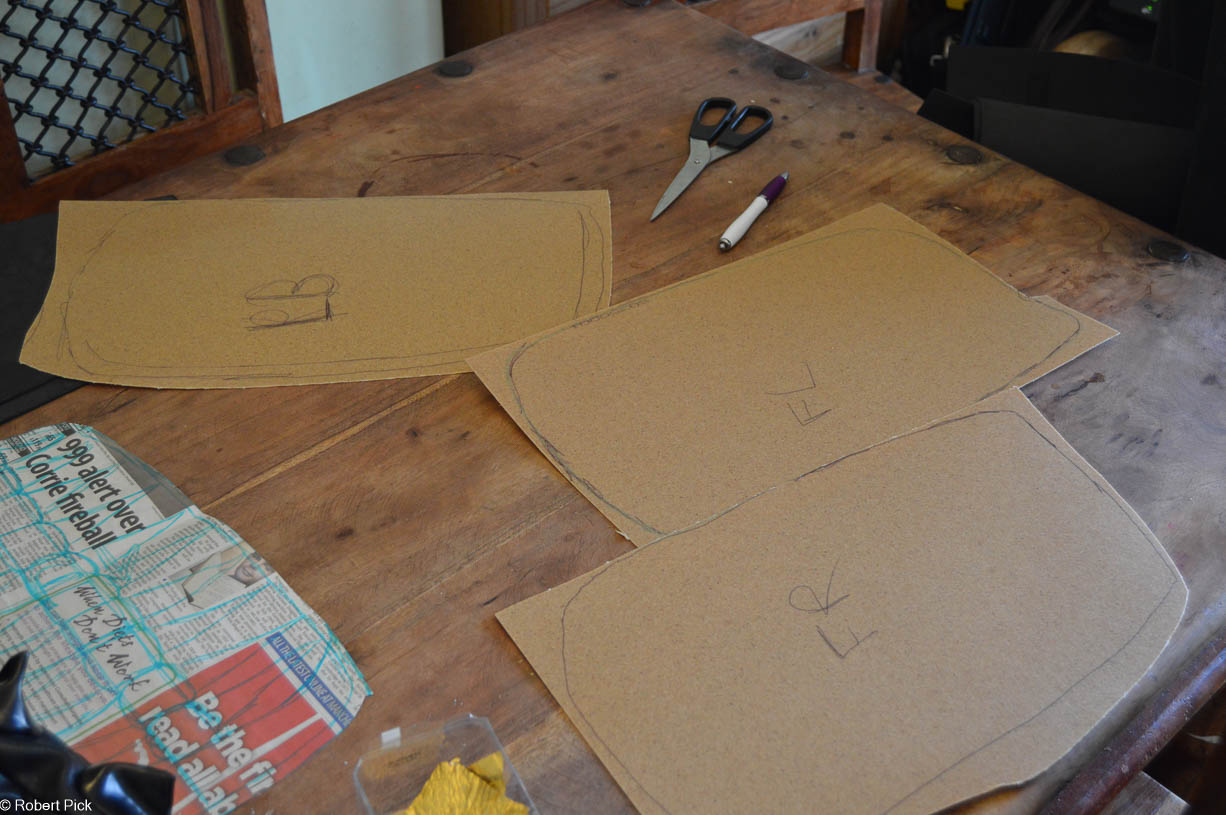
Start by drafting your patterns on paper. Measure the areas of your body where each piece of armor will go, such as the chest, shoulders, and legs. If you’re not confident in freehanding the patterns, look for printable templates online, specifically designed for the Lich King’s armour.

Step 3: Shaping with Worbla
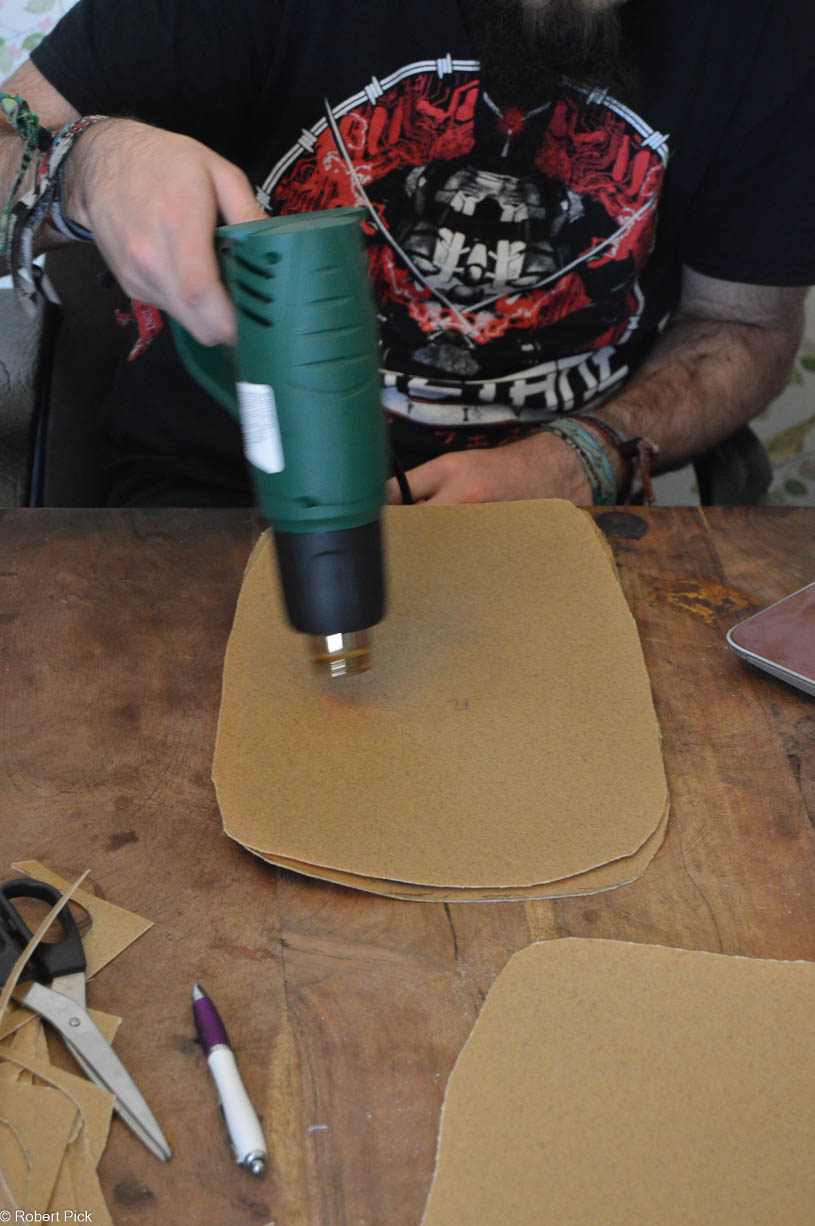
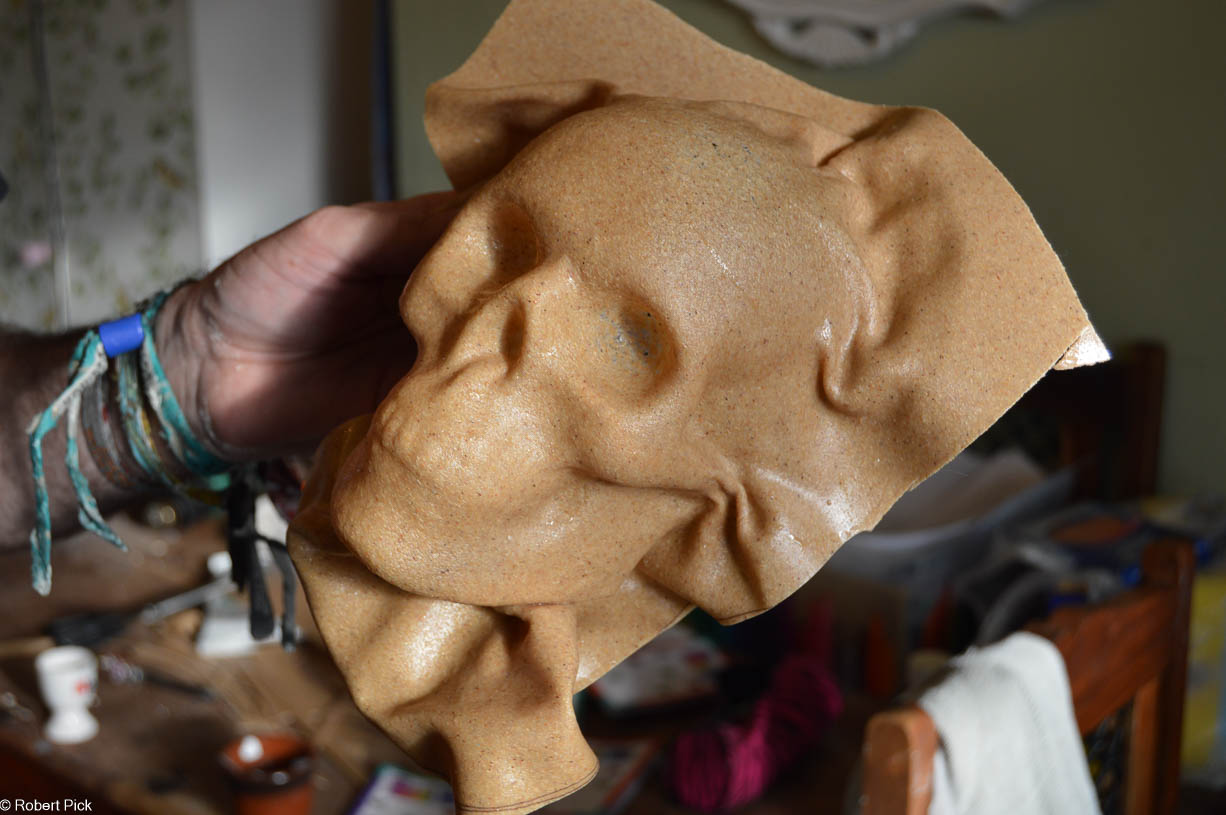
Worbla is a fantastic material for cosplay armor because it’s heat-sensitive and easy to mold. Cut pieces of Worbla slightly larger than your foam patterns. Use a heat gun to warm the Worbla until it becomes pliable, then wrap it around the foam base. Press it down firmly, smoothing out any bubbles or wrinkles.
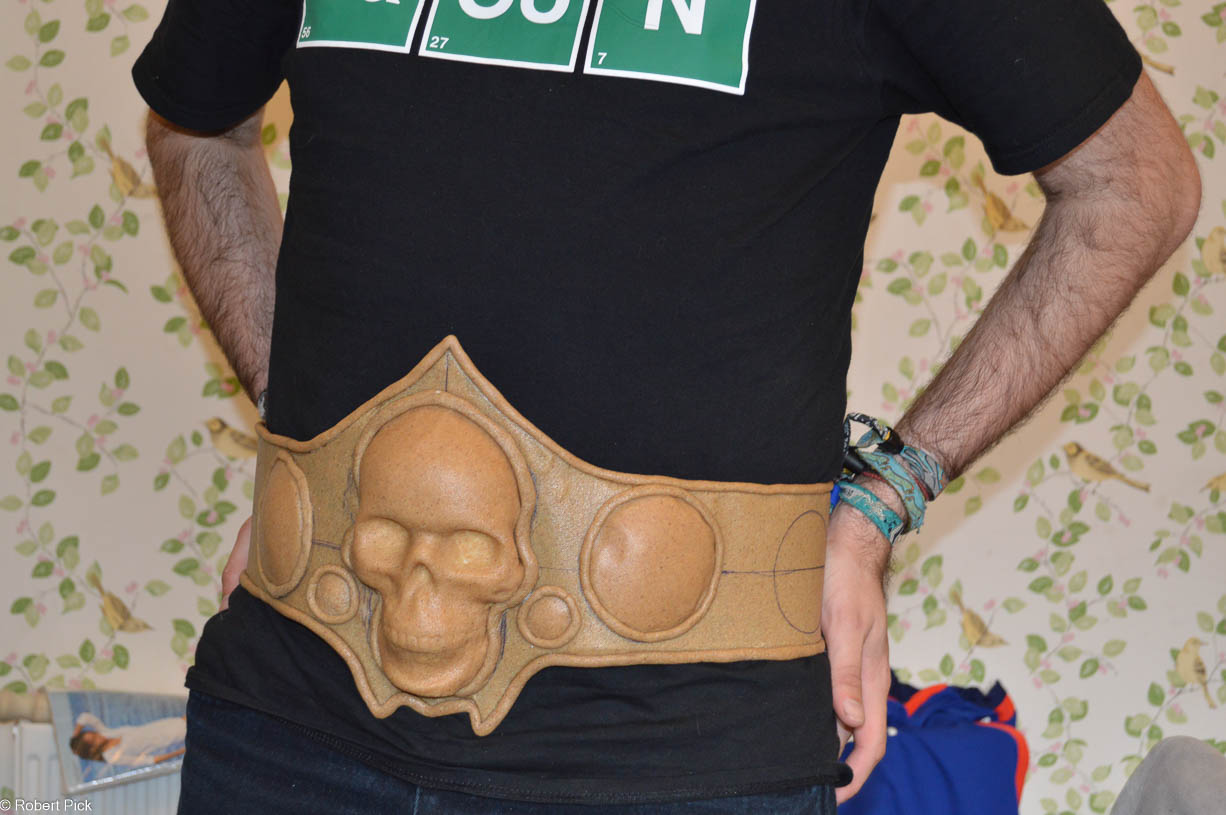
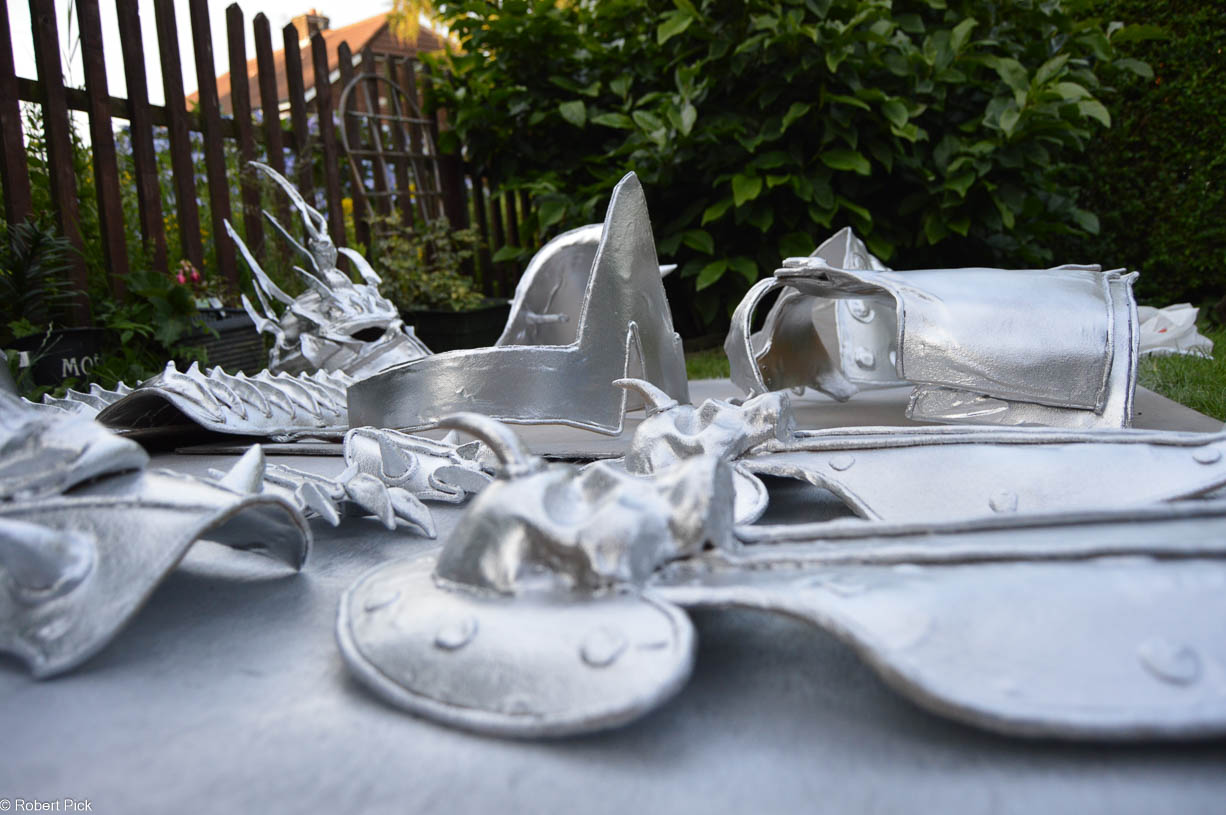
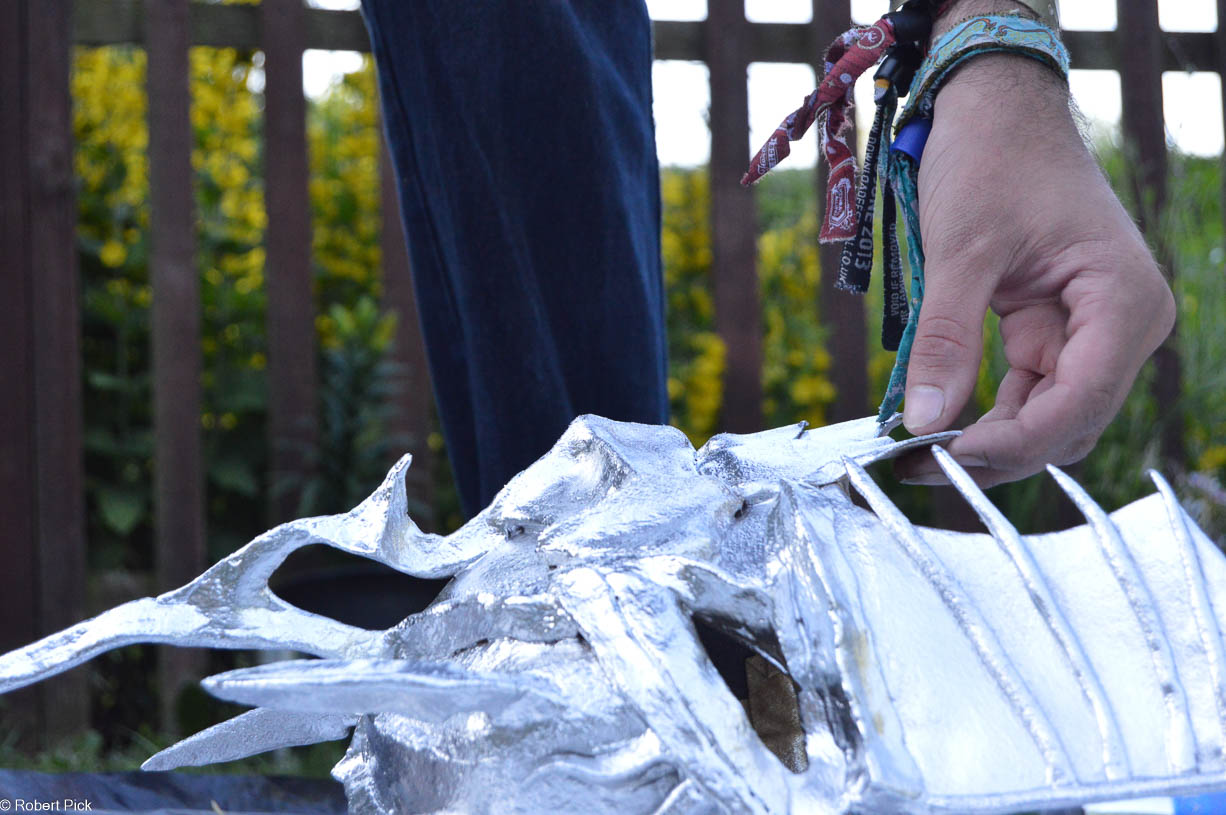
For areas that require more detail—like the skulls, spikes, or intricate carvings—layer smaller pieces of Worbla on top. You can sculpt these details by hand while the Worbla is still warm, or use tools to engrave patterns. Remember to constantly reference your images to capture every detail.
Step 4: Assembling the Armour
Once all your individual pieces are shaped and detailed, it’s time to assemble them. Use contact cement or hot glue to join the pieces together. For larger sections, like the chest plate or pauldrons, consider adding straps or buckles to ensure a snug fit while wearing.
If you want to add an extra level of authenticity, consider embedding blue LED lights in the helm or gauntlets. This will mimic the eerie glow of the Lich King’s armor and make your cosplay even more striking.
Step 5: Painting
Before you paint, lightly sand your armour to smooth out any rough edges. Then, apply a few coats of primer to ensure the paint adheres well.
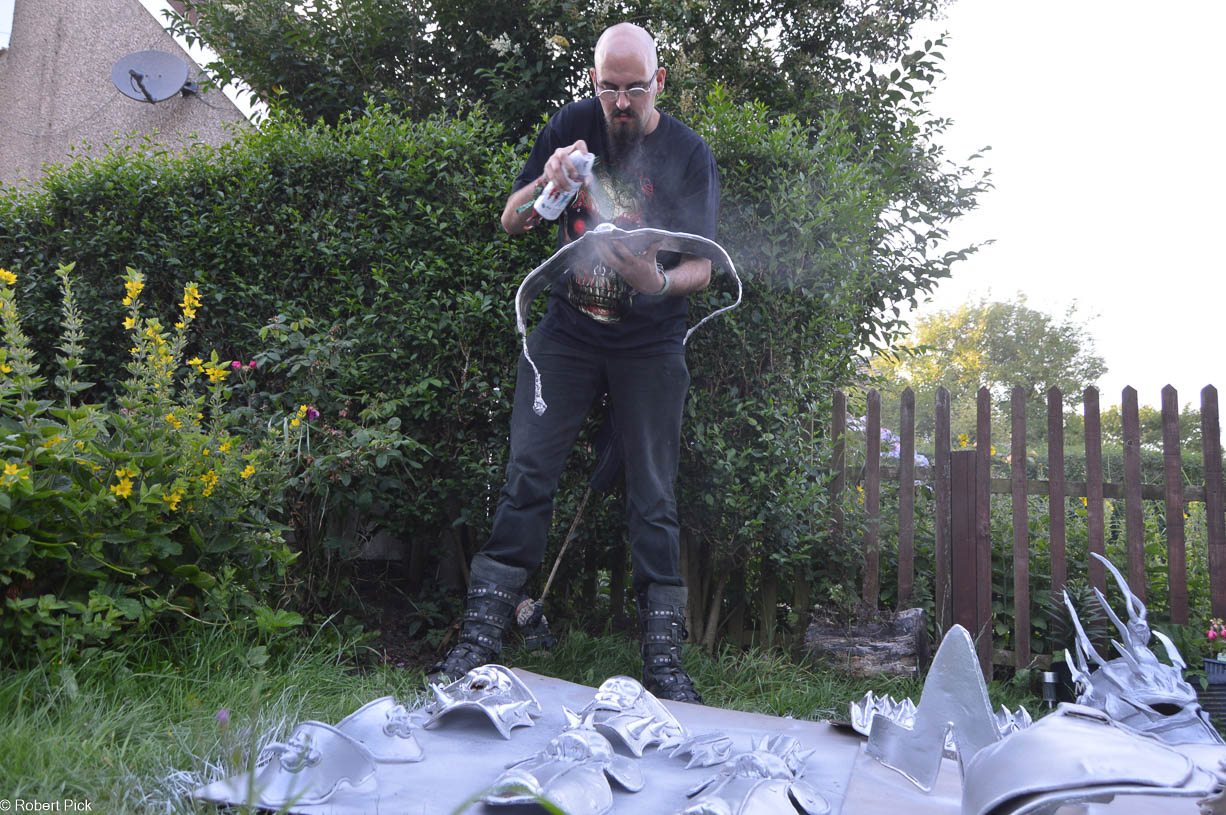
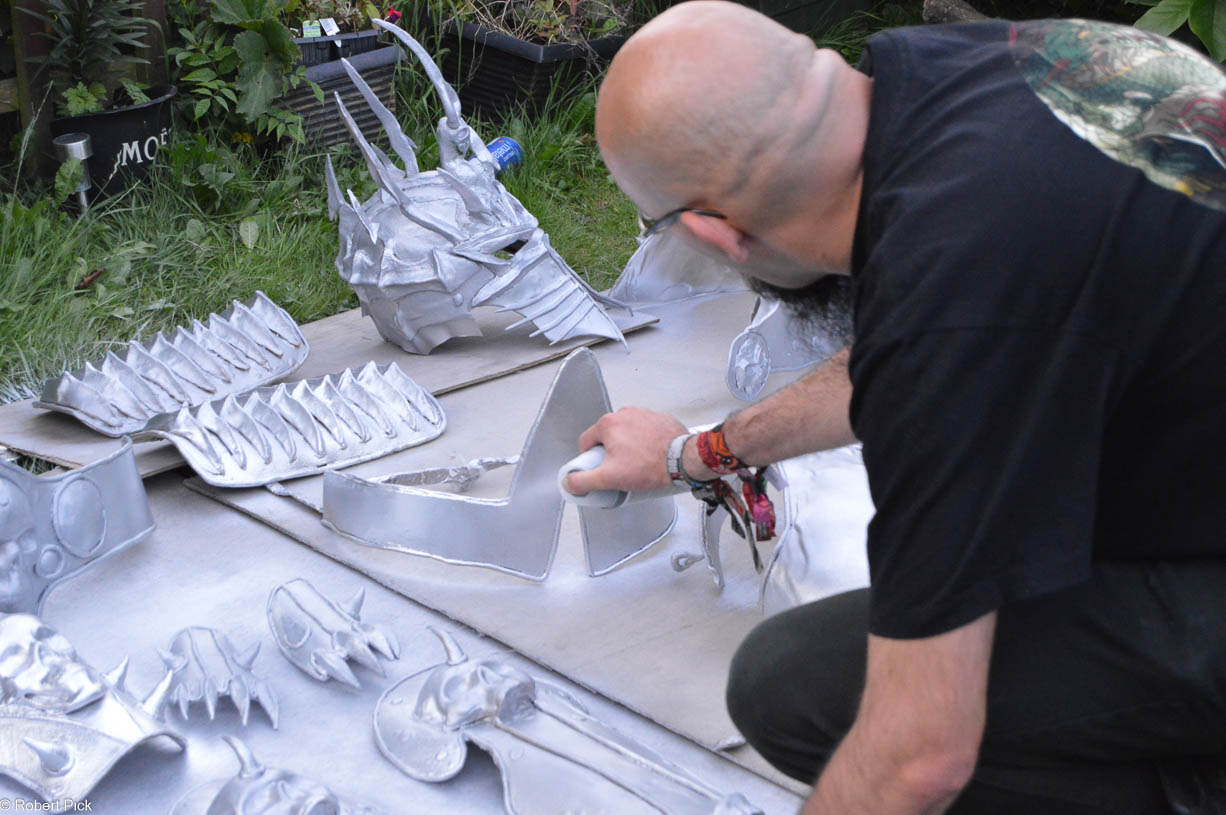
For the metallic finish, use silver spray paint as your base coat. Hold the spray can at an even distance and apply thin, even layers to avoid drips. Let each coat dry thoroughly before applying the next.
To achieve a more aged and battle-worn look, mix black acrylic paint with a little water and brush it into the crevices and details of your armor. Wipe away the excess with a cloth, leaving the darkened paint in the recessed areas. This technique, known as weathering, gives the armor depth and realism.
Conclusion
Crafting the Lich King’s armour may seem like an epic quest, but with the right materials and techniques, it’s an achievable and rewarding project. Worbla allows for incredible detail, and with a bit of creative painting, you can transform simple materials into something truly worthy of Azeroth’s greatest villain.
Whether you’re gearing up for a convention, a cosplay competition, or just want to bring the Lich King to life, this guide should help you on your journey. Remember, patience and attention to detail are key. Embrace the challenge, and soon you’ll be wielding Frostmourne in your own handmade Lich King armor!

